



Help › Creating your events › Designing your form
Designing your form
Pushpay Events Team Revised
Now you’ve decided what information you’re collecting on your form, it’s time to design it!
There are “Basic” and “Advanced” options for designing your form.
We’ll just look at the basics here where you can easily add a banner image to your form. If you’re familiar with using HTML and CSS, then you have a lot of freedom to change the design of your form, and this can be done under the Advanced tab.
There are two options for the display of your banner image. A fixed width, with a maximum width of 980 pixels, and a fluid width, whereby the image stretches across the width of the viewing screen.
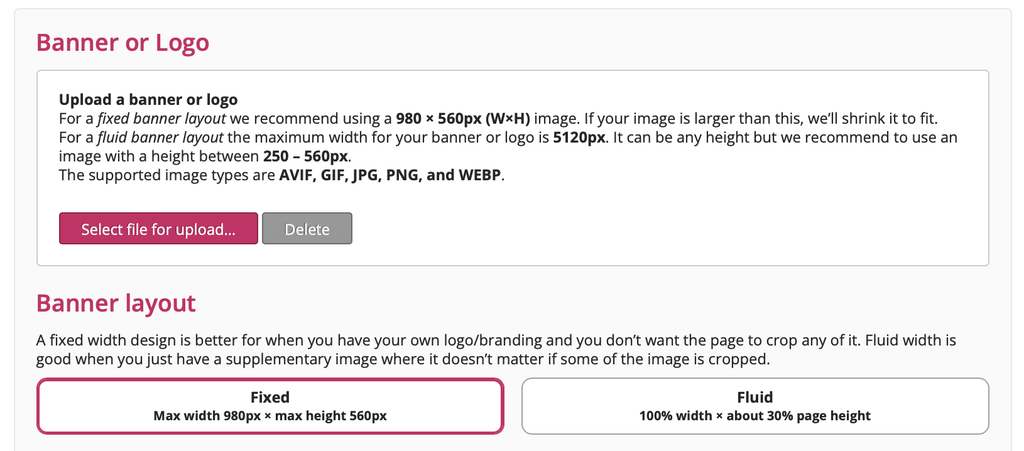
If you want to modify the alignment or placement of your image, or change the colors used on the form, or the fonts, you'll need to visit the advanced design section to make those changes.
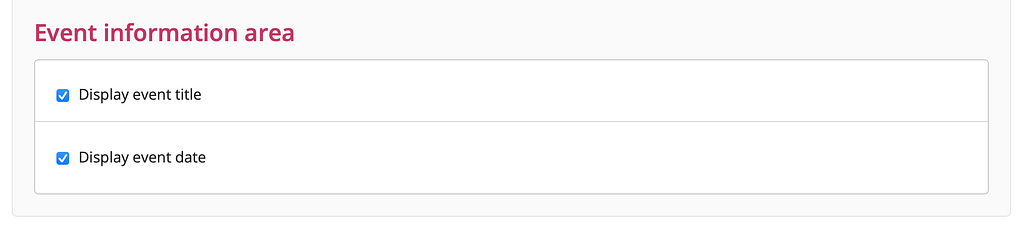
On this page you can also choose whether you would like to include the event title and date on your form.
Now you’re ready to make some decisions on how you’ll collect payments for your event.